User-populated surveys
SuAVE version 2 can be setup to let users create survey items and populate their metadata. A typical application is an online membership system, where users can add their profiles and photos to SuAVE database. The application can be configured to either accept arbitrary user profiles, or control who can create a profile based on a predefined list of users.
Setting up a member profile management application
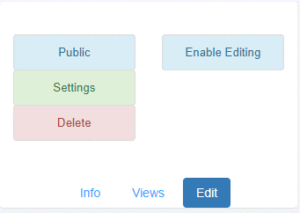
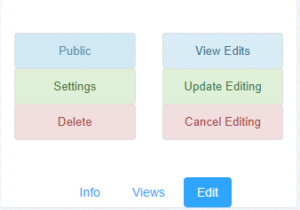
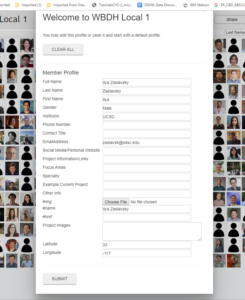
When you administer a member profile management application, make sure you have user emails as one of the fields in the profile: this is how the system will identify different profiles. Click “Enable Editing” to activate user-populated survey capabilities, as in the left image below (this option is added in version 2). Then a User Edit Form will be displayed. Once you Submit the form, will see additional options, as in image on the right
 |
 |
Clicking “Update Editing” will let you view and edit the profile form again (see the screenshot below). This form will be shown when a user requests to add or edit her profile. Survey publisher can change the size and order of fields (by dragging them to a desired position) and edit field properties (updating field labels, and making them required, editable, or only visible to administrators). Note that the assignment of variable types and additional qualifiers is managed as in version 1 (under “Edit – Settings – Edit Variables”.)
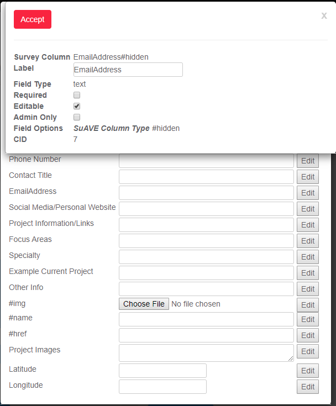
The “View Edits” button will list all profile edits in the current application, and let the publisher revert any of them.
The “Cancel Editing” will remove the edit history and the profile form. To restart the editing, the administrator would then need to “Enable Editing” and confirm the profile editing form using “Update Editing”
Two modes of user profile management
The member profile editing application can be setup in two ways:
- Letting only users from a pre-defined list to add or update their profiles. This option is more secure and won’t require frequent management – but it implies that a universe of project members is known in advance. This is the default option.
- Letting anybody on the web to add their profiles. While prone to abuse, this approach would present fewer onboarding hurdles. It is expected that project managers will periodically revisit the database and remove unwanted profiles.
SuAVE allows switching to a more appropriate mode as the project develops. The survey publisher can switch to the latter mode (so that anybody on the web can add a profile) by activating the “Crowd Sourced” option in the main SuAVE menu (under Edit-Settings – see the snapshot below.)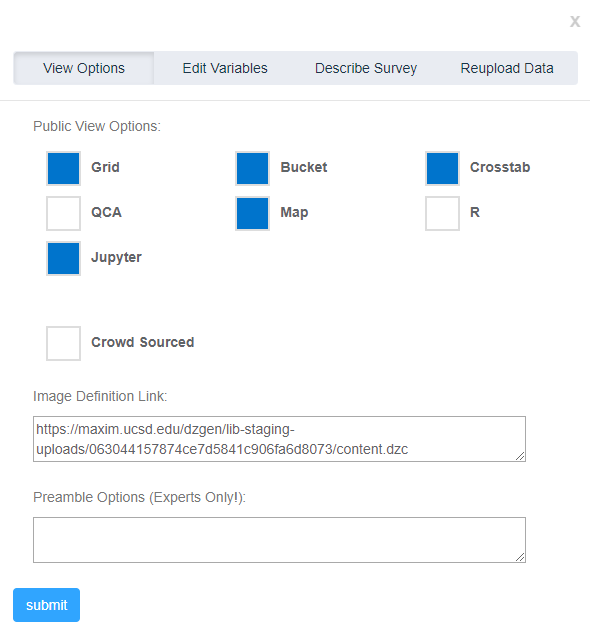
Letting users navigate to profile editing
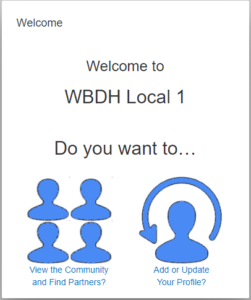
SuAVE can be configured such that, on entering the application, a user has an option to browse the entries, or edit his/her profile. On the user interface it could look like in the image on the left.
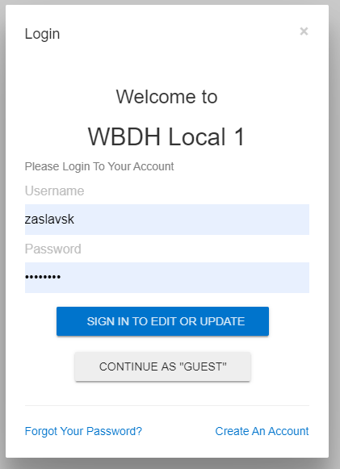
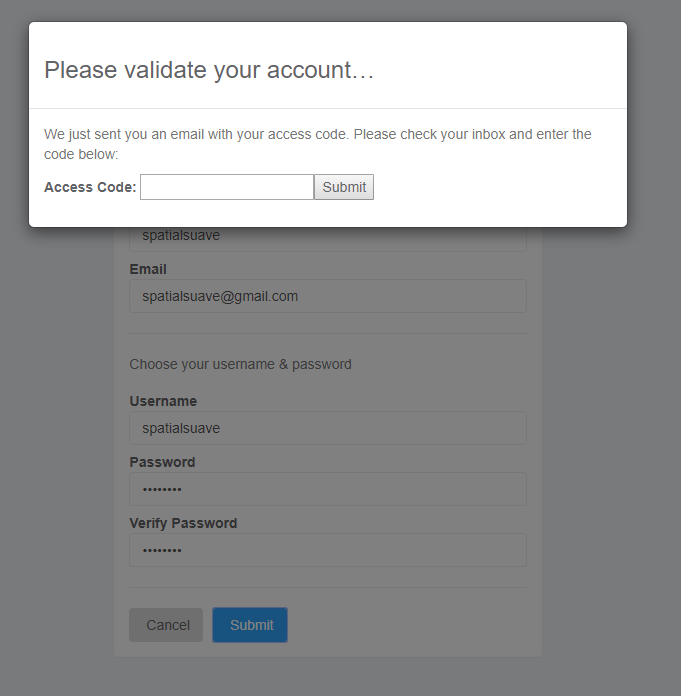
To be able to add or update a profile, the user should have a SuAVE account. Upon selecting “Add or Update Your Profile”, SuAVE will check if the user is authenticated, and will offer a login screen and an option to create an account or retrieve a forgotten password (see the left figure below). If the user selects “Continue as Guest”, she will only be able to view the gallery of users, but won’t be able to edit profiles. If the user chooses to create a SuAVE account to edit a profile, she will need to validate the account entering a validation code sent by email (see the snapshot below)
 |
 |
The navigation menu can be defined by a user as an HTML fragment. A sample preamble for the navigation screen above is shown below. It should be pasted by the survey publisher into “Preamble Options (Experts Only)” field on the survey editing dialog. To make this example work for your application, replace “file=…..csv” with a reference to your current survey data file.
<br><center><h2>Do you want to…</h2><br>
<table style="width: 100%;">
<tbody><tr>
<td style="text-align: center;;width:140px">
<a href="/main/file=zaslavsk_WDBH_Test_4.csv&views=1110101&view=grid&skip_login=true">
<img src="http://suave-dev.sdsc.edu/images/view_icon_blue.png" alt="" width="140" height="140" />
<br />View the Community<br /> and Find Partners? </a>
</td><td style="width:50px"> </td>
<td style="text-align: center;width:140px">
<a href="/main/file=zaslavsk_WDBH_Test_4.csv&views=1110101&view=grid&edit_profile=true&skip_preamble=true">
<img src="http://suave-dev.sdsc.edu/images/update_icon_blue.png" alt="" width="140" height="140" />
<br />Add or Update <br />Your Profile? </a>
</td>
</tr></tbody>
</table>
</center>
Uploading photographs as part of profile editing
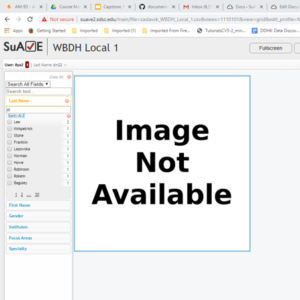
When a new profile is initially created, there is no image or icon associated with it. So the item will appear in SuAVE as “Image Not Available” (see a snapshot below, on the left). Users can edit their photos by populating the #img field in the profile form. When you select any icon or photo on your local computer into the #img field, and submit the form, SuAVE will automatically upload the image file, create tiles for this image, and regenerate image sprites for improved image rendering (see snapshot on the right).
 |
 |
Managing user lists
In the first mode of user profile management, the survey publisher needs to control who can create profiles; in the second mode, she may need to delete unneeded profiles. These tasks can be accomplished by editing the data table accessed through Edit – Settings – Edit Variables – Advanced. The table has been enhanced in SuAVE version 2 to let survey publishers add records or select records for deletion. See images illustrating this functionality, below.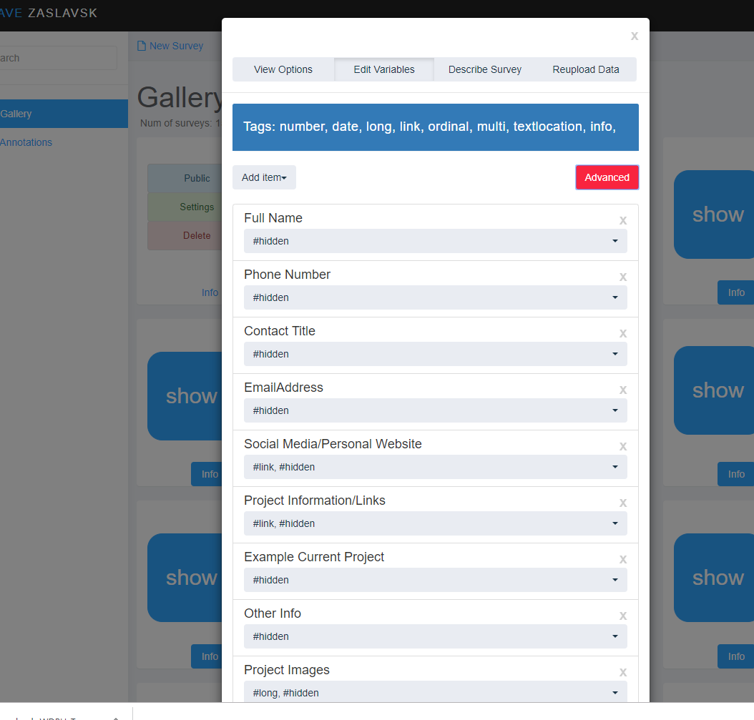
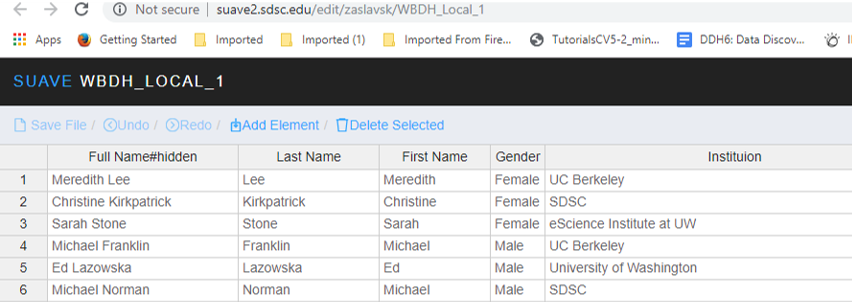
In the first mode, if a user not authorized to create a profile in the member directory (i.e., user’s email address is not among the authorized emails) attempts to do so, SuAVE will display a message indicating that updates are invitation-only, and continue in a “View Only” mode. In the second mode, a user will be allowed to create a profile.
Authorizing SuAVE users to edit profile records
As a survey publisher, you can edit any individual profile, or assign the right to edit individual profiles to selected users besides the profile owner. In this image, notice 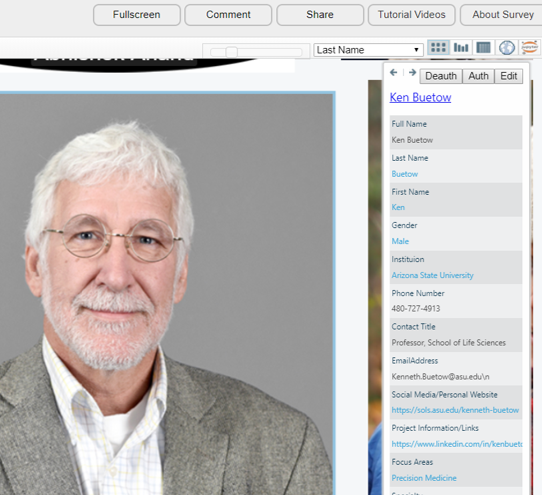 buttons Deauth, Auth, and Edit, at the top of the item information pane. Clicking Edit allows the survey publisher to edit the current record. Clicking Auth lets the survey publisher specify a SuAVE user (or a comma-separated list of users) who can edit the record. Deauth lets the publisher specify users who should not be allowed to make edits to the record.
